Showing posts with label DIY. Show all posts

Thursday, March 12, 2015

Thoughts on Wallpaper...because it is vitally important to society

O.k., it is not vitally important to society, but based on the reactions I got when I told people I was going to hang wallpaper in our new house, it is a decorating technique about which people have strong opinions. Most gave off a fascinated, incredulous, faintly disgusted air as though I had just announced I was leaving Jay to marry my cousin. (What's up cousins? I'll let you guys decide which one.) I can only assume that you all, like me, have had one or both of the following run-ins with wallpaper:

1. You have attempted to remove wallpaper stuck directly to drywall using that horrible round scraper thing (that just leaves 8 million tiny holes in your wall), the steamer that makes a soggy mess, and/or the terrible smelling "remover" that seems to have no effect whatsoever...

OR

2. You recall that time in the 70s/early80s that your parents tried to hang wallpaper together in the bathroom and they got into a fight so loud you thought that Daddy might be going to live in a different house and then he kicked your Big Wheel.  For instance.

The wallpaper I used was not like that kind of wallpaper at all. It is called "paste the wall" and you literally paint universal wallpaper paste onto the wall in a strip just a little bit wider than your roll, cut a strip the same length as the height of your wall, and stick it up there.  The paper feels like really high quality wrapping paper or maybe butcher paper so it is easy to handle without tearing, pulling, or bubbling. You also don't have to do any soaking or "booking" like old wallpapers. You can re-position it without it tearing fairly easily. And, although I did not test this, my research said that it actually comes off in one piece which makes it popular with renters in older buildings in Europe. We'll see if that holds up when I get tired of wallpaper.

Cutting a strip to length

 To be honest, I don't really know if this is a common U.S. product yet or not--I fell in love with an Orla Kiely print (Multi-stem Original, if you like it yourself) and I could only buy it from Europe. It was oddly difficult to search for wallpapers online--there are so many choices and so many I hated--and I didn't even know there were different types when I started. I found this Youtube tutorial by these lovely British people who can give you more advice than I could on how to hang it. They mix their paste up from a powder, but here in the U.S. it just comes in a resealable gallon already mixed.

Here are my two cents on how this little project went for me.

Tools:
ladder
paint brush (get a wide one)
paint tray (to pour paste into)
universal wallpaper paste ($20 at Home Depot or Lowe's)
measuring tape
scissors
utility knife
washcloths (wet to wipe off paste on the front of wallpaper, dry to smooth paper down)
plastic straight edge (like a painters' edge--to get paper into corners and around trim)

Making a straight edge
Working around a door frame


This really wasn't all that difficult. I told Jay it was like a cross between painting a room and wrapping an oddly shaped gift. He said, "so something I'd be really bad at." Um,,,yes.

Sun that caused my ladder falling
The hardest part was going up and down the stupid ladder I fell off of a few weeks ago while painting a sun on a ceiling and that I chose to put paper on all four walls of our small foyer. There was a door or doorway on every wall so there were also corners and door frames in almost every strip I hung. I think I hung just two strips that only needed trimming at the top and bottom.

It certainly helped to have a graphic print--the nature of the print itself makes seams harder to see. Also, working quickly made it easier to trim because the paper becomes more malleable (and therefore harder to cut in a straight line) the longer it is on the wall. One last tip, if you do all four walls know that it is not possible to have the pattern line up in that last corner so start in the corner you think is least important so that you will finish there with the mismatched print.

I actually really like it and think it would not be hard for most people, especially if you just wanted to do one accent wall. It is more expensive than paint (like 60-100 dollars a roll expensive) and you probably need one more roll than you think you need to match up your pattern. I ordered mine from www.wallpaperfromthe70s.com and it shipped from Germany and was at my house in three days. For some reason, the UK was unable to get me their wallpaper.

Final verdict:
Easy to do, low to moderate expense (depending on how much wall you're covering), takes a few hours, and I love the result. Yay wallpaper!
Final Product

Friday, July 11, 2014

Best Mom Tip #190: Refurbish your stairs

Ok, honestly, I can't say that everyone should do this because it was kind of hard and inconvenient. Also, the finish will still be "rustic" because this wood was never meant to be seen. If you don't like that, this isn't for you.  However, I showed you the stairs a couple of posts ago so I thought I'd show you how I did it. Here is the finished product:


I really like the way it looks and it is definitely more interesting than it was before, but it was a lot of work.

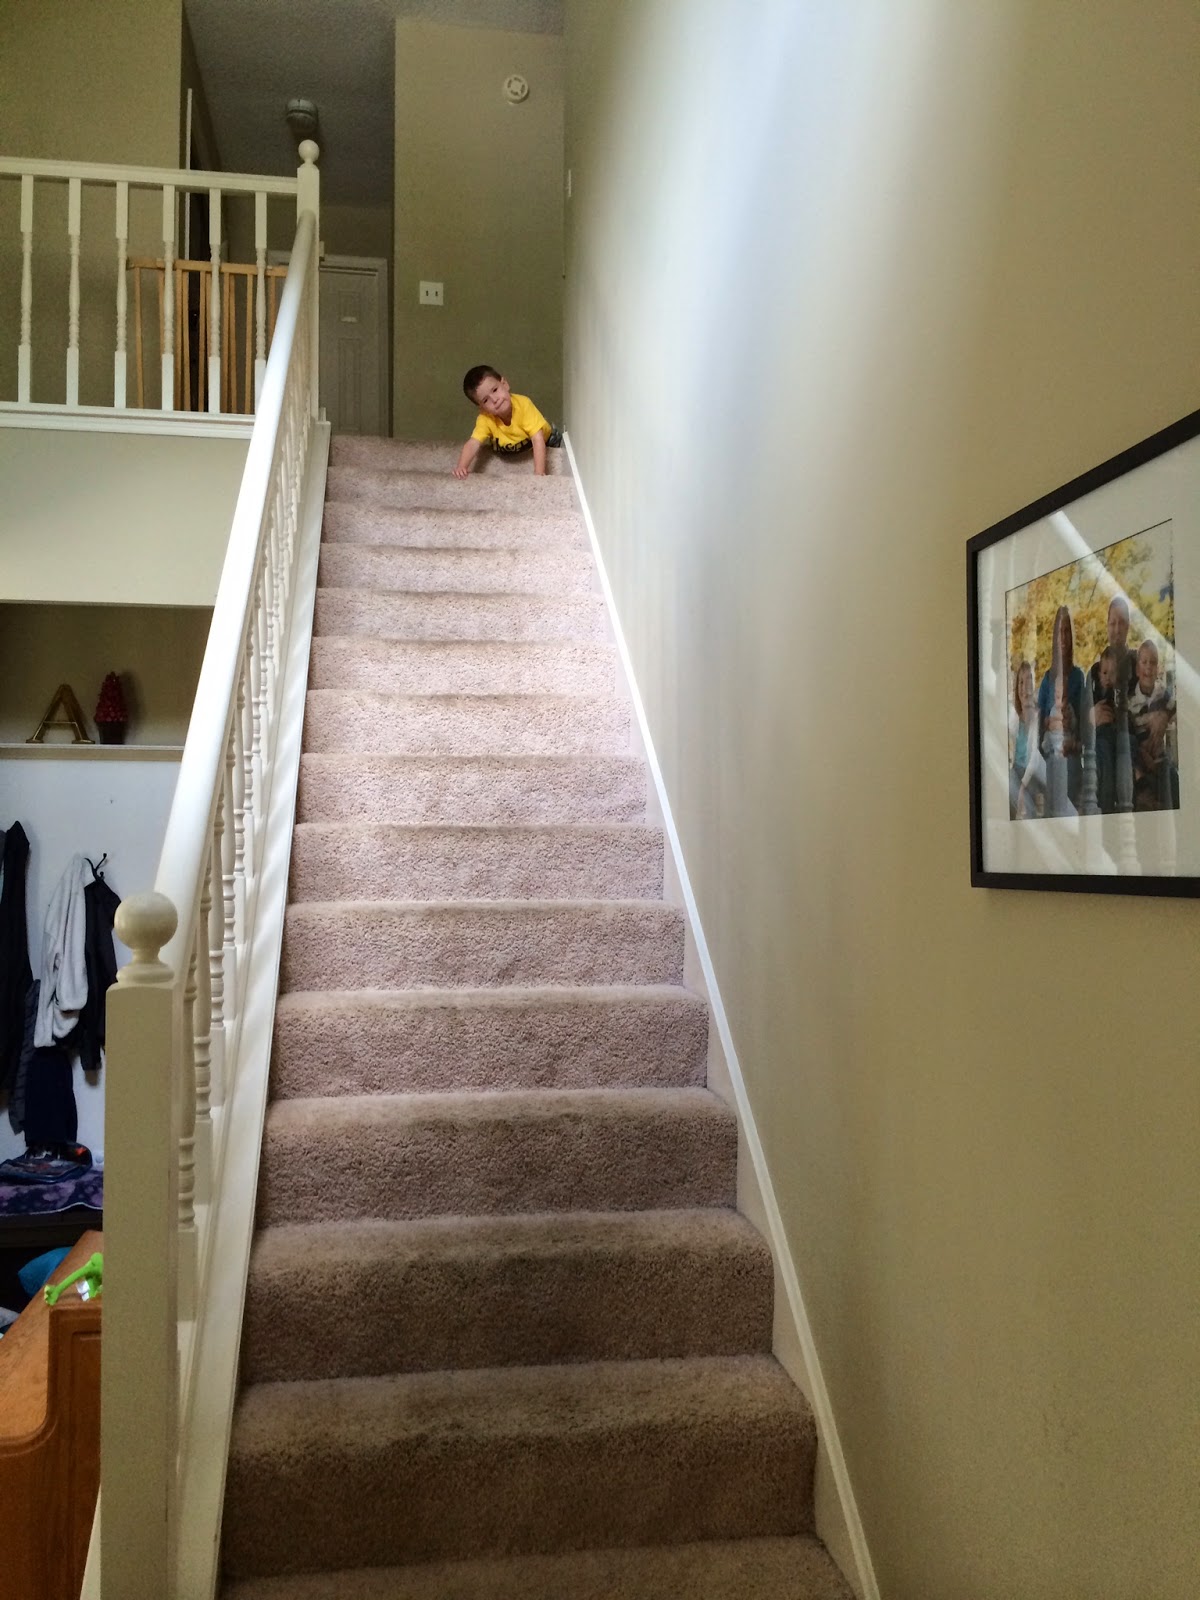
To the right is the before picture. There was nothing wrong with it, it just had 8 year old carpet and was really beige throughout our entire foyer.


 If you're remotely interested in removing the carpet from your own stairs, I suggest the following tools and materials:

Tools                                                                            
  • good work gloves                                                        
  • pliers
  • crow bar
  • hammer
  • carpet knife
  • flat head screw driver
  • miter saw
  • caulk gun
  • electric sander/sandpaper
  • heavy duty staple gun/staples
     Materials
  • quarter round trim
  • wood filler
  • paint (primer, color, brushes)
  • a ridiculous amount of caulk
  • flat trim for bottom edges
  • I also needed to create a stair lip so I needed some screws and a length of wood (1x2)
  • liquid nails glue

If you don't have these things, or are unwilling to buy them (materials cost about 100 bucks), you probably shouldn't try this. You could use a miter box and sand the stairs by hand, but only if you have a lot fewer stairs. You will hate your stairs and everyone else in your household without power tools.


 Removing carpet is not that hard. I just grabbed hold of a corner and pulled. I did just a few stairs at a time and then cut the carpet with the carpet knife. That made it easier for me to carry the really heavy pieces of carpet and allowed us to still use the stairs. You know, because I have four kids and this is our only staircase.

This was actually the easiest and most satisfying part of the whole project, which is sad, because I still had a lot of work to do. Like...


Removing carpet tack strips and carpet stables. This is what the crow bar, hammer, pliers, and screwdriver are for. I hammered the crow bar under the tack strips to remove them--there were three for every stair. Then I pulled out all the carpet staples with the pliers--there were about 30 for every stair. The screw driver came in handy to slide under the head of the staple if they wouldn't come up. Taking up the carpet, tacks, and staples took an entire day (my kids watched a million hours of TV).

Once I got all of the carpet, padding, staples, and tack strips removed, I had very rough looking stairs. They needed a lot of sanding, some wood filler, and trim.  There were gaps at the bottom of each stair and along the sides of both the risers and treads. Thus, the need for trim, a miter saw, and caulk. All of these steps took me about four days, but we still lived our lives and fed the children and went swimming and stuff. The stairs were safe to use after the tacks and staples were removed, so it didn't impede our ability to go up and down the stairs. I did the wood filler at night so it could dry without kid feet getting in it and Jay and I just stepped around it.


I am not great with a miter saw and made some wrong cuts, but once I got into the groove of it again, it was not that hard to cut the trim pieces. The kids played outside while I made cuts and then laid the pieces out in place. Once I had all of my cuts made, I glued them down with liquid nails and let them dry overnight. Some of them needed to be taped into place with painter's tape until the glue dried. The next day I caulked the heck out of every seam on every stair. It took 5 tubes of caulk, my trusty caulk gun, and most of a day.

I also mentioned in the materials that I needed to make a lip for the top stair (you can see it in the picture on the left). I cut the carpet a few inches from the top landing and cut the padding out from behind it. Unfortunately for me, there was no overhang on the top stop to staple the carpet to. So I screwed a length of a 1x2 to the face of the top riser and wrapped my carpet around that. I stapled the carpet on the underside and, voila, a carpeted top step.


With all of the sanding, wood filling, trim, and caulk in place and dry (picture on the left) it was time to paint. I used floor paint, which is less slippery than regular interior paint and is made to be walked on. I painted every other stair (picture at right) so that we could still use the stairs and then painted the other half the next day.  I eventually put three coats on the white parts of the stairs.
After I got all of the white finished it was time to add some color. I went with colored risers in an ombre effect using using the same teal paint color strip from which I chose the color for our lower kitchen cabinets and the walls in our living room. I kept the bottom landing steps completely white and focused the color on the 15 regular stairs. I used 5 colors and painted 3 stairs with each color going from the darkest color on the paint strip up the stairs to the lightest.  I actually had all five of these colors in sample paint cans because I used them when trying to pick a color for the kitchen. These also got three coats of paint.
They cost about 5 dollars a piece if you want to try it and I just used the regular paint that comes in sample cans--it was the same satin finish as the floor paint.

Teal ombre stairs after carpet removal
So, here is the final product again where you can see the ombre better. Feel free to hire me to veerrrryy slowly redo your stairs. :)


Wednesday, June 18, 2014

Best Mom Tip #187: Make Something New

I sometimes get lost in my own head. I'm not sure you'd call it depression-I've never seen any professionals and I've never taken any medication for it-but sometimes things just seem pointless. Or overwhelming. Or just too difficult to deal with. That's how I spent most of my January and February and maybe March and clearly, my blog took a hit because of it.

As the daughter of a person who has struggled with mental illness for 35 years, I am hyper-aware of the causes and treatment possibilities and also hyper-resistant to ever walk that path. When I feel myself begin to slip into a dark place I can usually redirect my fears and feelings of defeat by changing something or tackling something new. Sometimes it takes longer than others. And I know that if I ever truly cross the line into clinical depression it will not be something I can just pull myself out of. So, anyway, I am jacked up and loathe to admit it and so I throw myself into projects and refuse to go down the rabbit hole. I can't say that it is my healthiest personality trait, but there you are.

One of the ways I deal with my anxiety is by exercise. I train for things. I make myself hurt. I beat myself against a goal until I don't feel so down about myself anymore. But I also make things. Little things, big things. Things that use a miter saw and things that use my stenciling skills and things that need a drill.

I'm not sure why I find it so comforting. Maybe it's because I then have something to point to. Some way that I've spent my day or something that I, despite my many flaws, have accomplished. My latest project is these stairs. Last week they were covered in carpet and boring. This week they are blue.

Back in March, when I realized that my seasonal funk was lasting a bit too long and that I was feeling defeated and useless every day, I decided to pursue the possibility of returning to work. I miss teaching (although I also am grateful and enjoy the freedom of staying at home) and I thought that if my mind were busier I might not have to deal with my feelings of inadequacy. I could just fill my thoughts with grading papers and lesson planning.

That route didn't work out for this coming school year in what turned out to be a rather spectacularly unfortunate fashion from my point of view. So I was left with, what? No immediate career path. No sense of accomplishment. No sense of moving forward or upward or victory. Which brings me back to the stairs.

I use projects to propel myself out of the deep moments, but I also use them to celebrate my victory over the darkness in my mind. I use them to declare that I am still here. Still fighting. Still hopeful.

Eventually, finally, I remembered sometime in late April to pray. Really pray without any sort of secret agenda except to be and become a better human being. I prayed for purpose and direction and I am still waiting for answers. But my prayers helped me remember that I am not what I do. I am not even who I love. I am loved by God and my purpose is to share that love with others. How joyful. How hopeful. How uplifting. Just like my stairs. :)

Monday, April 25, 2011

Best Mom Tip #133: DIY no matter what

Jay and I are going to star in our own reality TV show.

It is called "F#@%' Home Improvement?" The question mark is what really sets it apart from other shows with similar content.

It will involve us beginning projects on a whim without a budget, plan of attack, or any assessment of what we currently have/need. We will always take all three kids to Lowe's/Home Depot so that there is no way that we will be able to make accurate purchases.

We will be sure to still be working on the projects during dinner/bath time so that there is a decent chance that at least one kid will get out of taking a bath and at least some screws/bolts/washers will disappear.

We will always, and this is key, break something else unrelated to the current project while attempting to remove or install new materials.

We will continue to be surprised and annoyed that our builder's grade 20-year-old home does not meet current standards, sizes, and codes. This is why we will never finish a project in one sitting and will always have to return again and again to the home improvement stores. With our kids. Don't forget the kids.

In the end, we will always fall back on caulking and painting to hide that fact that we have no idea what we are doing. We are pretty good at caulking and painting at this point.

Our new show is inspired by our "new" guest bathroom. We have replaced all parts of the toilet (not part of the project since it was bought new last year--we just broke it removing baseboards), installed a new vanity/sink (destroyed the walls), faucet (pipes were different size and length than the old ones), and floor (see baseboard reference above).

If you come by our house please say something nice about the bathroom, but don't look too closely at anything.


Tuesday, August 24, 2010

Best Mom Tip #101: Be handy

I like to fix things. I like to figure out what is wrong and solve the puzzle. And I like to learn new handy-man kinds of tasks. This serves me quite well because things break a lot in my world.

Whether I'm just buying cheap crap or whether it's just tough for products to be around my family, I find myself with the vacuum cleaner turned upside down or trying to wrestle the power drill from my son on a regular basis.

Yesterday I had to refit the belt that makes the brush roller on my vacuum cleaner spin. The instructions said to loop the belt around the motor shaft and then "slip the belt over the portion of the roller with no brushes."
It should have said, "attempt to force a 1/2 in thick piece of rubber around a tiny metal thing while a two year old sits on your head."

I feel that would be a more accurate reflection of what vacuum repair looks like. I did get the upstairs vacuumed, which is quite a feat in my world. Good thing I like fixing stuff or we'd never get to use our tools and minor appliances.